
|
|
|
Jeep FAQ How-To Articles Quick Reference Product Reviews My Buildup Random Home |
I had an old CBR (or 600RR) master cylinder / calipers laying around from the when we built my brothers 600RR (it was the wrong master cylinder for his bike anyways). Stock DRZ master cylinder is a 1/2" bore, the CBR one was 11/16". 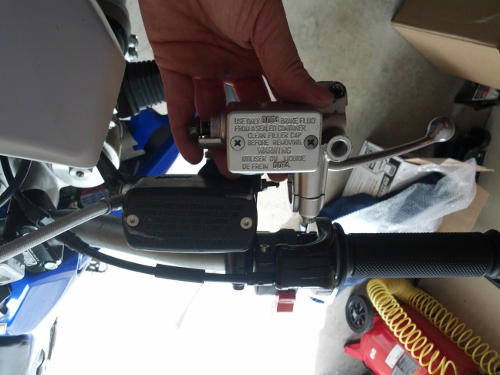
Used the stock DRZ lever with some minor modifications. It's a huge difference, the lever is rock solid now too, definitely not spongy anymore. My brakes felt a lot better after the braided lines, however they still weren't quite what I wanted, the large master cylinder was exactly what I was looking for. 
Added some paint to the tires, just for some bling: 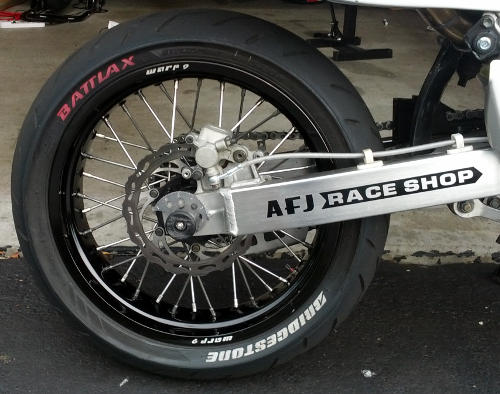
Replaced my standard DRC Edge taillight, with one that has the 12 O'Clock labs upgrade board: 
Also ditched the white plastic side panels for some blue ones: 
I found the seat concepts normal seat was just too high for me at the track, so I cut it up twice lowering it. Unfortunately the second time I cut too much out, and had to replace it with a SeatConcepts low seat. 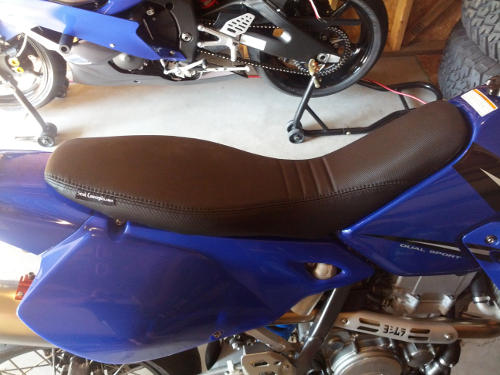
Also had a problem dragging my toes on the track, so I picked up a set of DRC SuperMoto pegs that are higher than stock: 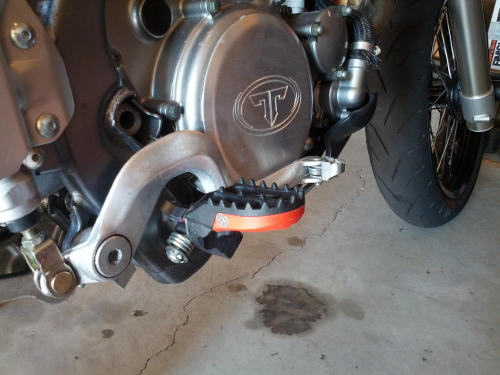
The stock S kickstand was too tall for the SM wheels, so I ended up cutting 3/4" off of it. This also allowed me to make sure the base was at the correct angle so it would completely touch the ground: 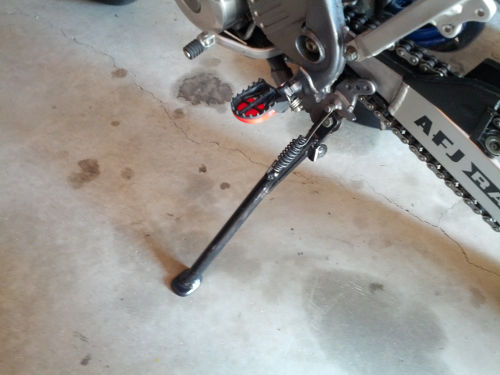
Some eBay hand guards, which survived exactly one drop: 
Figured I better check valve clearances, and remove the factor ACCT just to prevent problems: 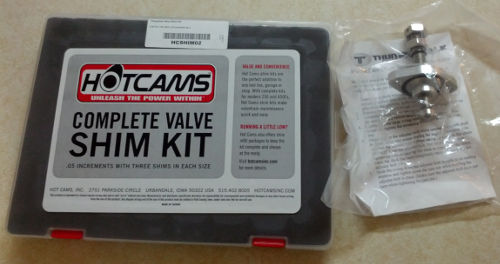
Also eliminated the factory vacuum controlled petcock: 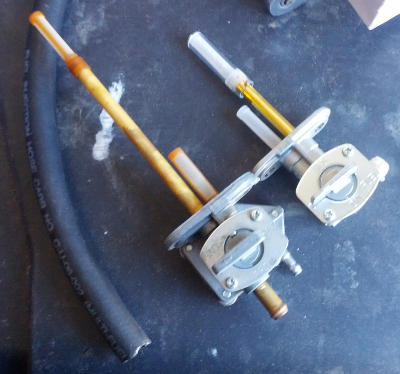
So I got the brilliant idea to remove the auto decomp from the factory cams. Unfortunately this meant the bike would no longer start. 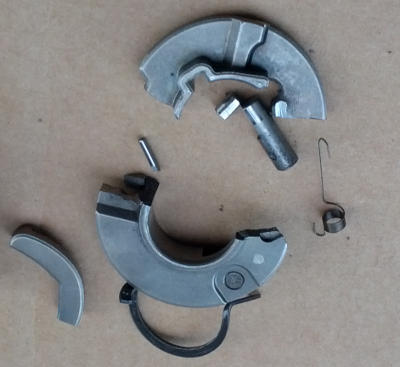
Which was the excuse I needed to just pick up a set of Stage 2 Hot Cams: 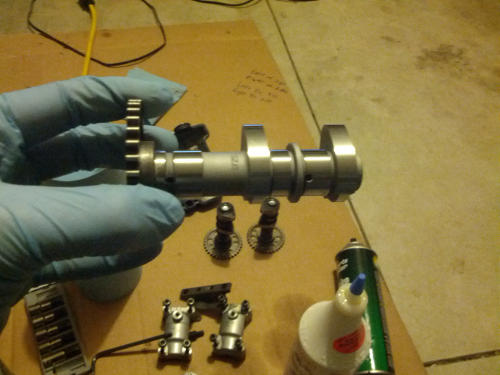
Did at least the stator side loc-tite fixes: 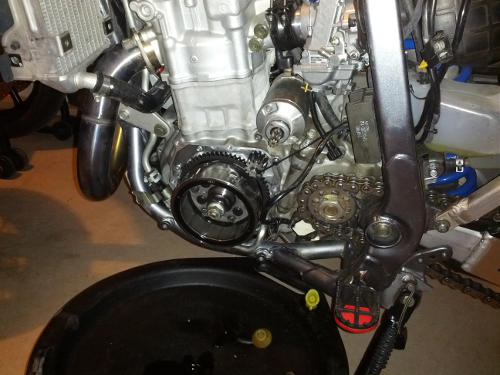
Which mean another custom tool: 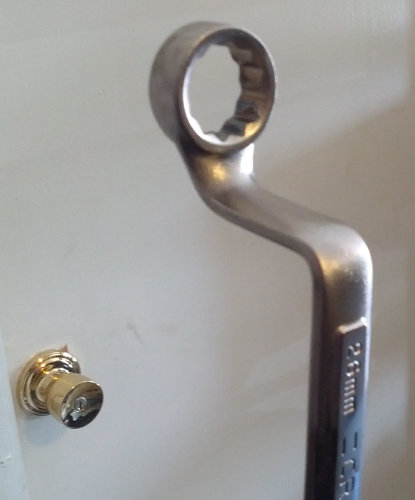
While that side was out, I modified the front sprocket cover: 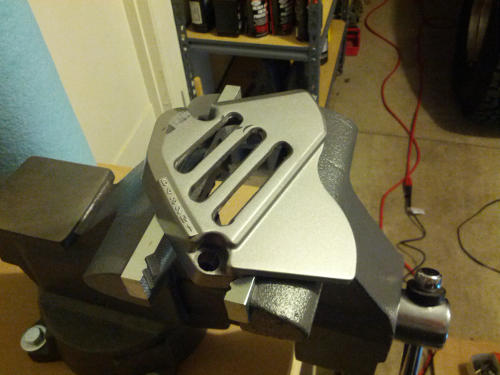
Decided to pick up a set of Unabiker guards. I have to admit it was great that Unabiker came in the thread on ThumperTalk, responded and helped explain their product some here. That part is very impressive. Props for that. That being said, these guards absolutely suck. Perhaps the manufacturers tolerances between the bike and the guards were at odds with each other. However it really comes down to the design needs some tweaks. There are known issues, if you search Unabiker fitment issues there are no shortage of posts. I had to drill every single hole one size larger, then waller out the holes to shift the guard up or down to clear things. Then placing the guard in the vice filled with blocks so I could carefully rebend the guard in multiple places on both sides to make it fit. I did eventually get enough clearance that I was happy with the left side, even with my Yosh exhaust. I also was able to mount them without removing the radiators from the bike. However that did require me to use a hack saw blade by hand to cut off some of the lower fan mount to clear brace. This should allow me to remount the fan should I decided to use it again. 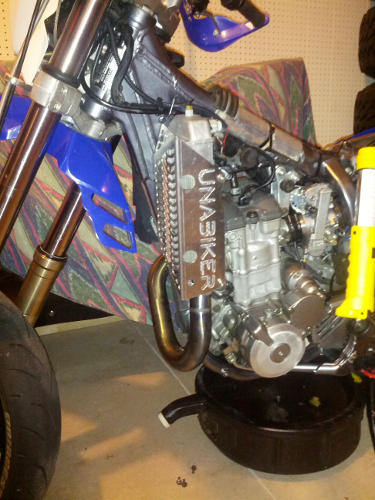
Several bends needed to be modified, or added: 
Took me picking up three supposed "E" CDIs before I actually got an "E" CDI. 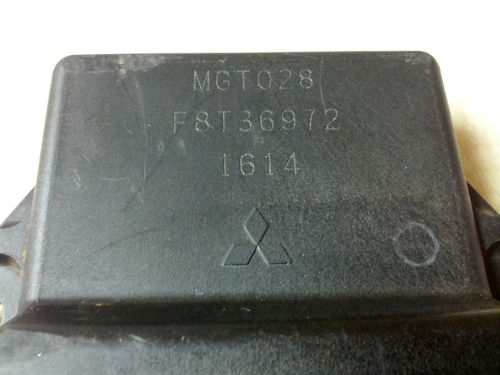
To run the E CDI in the S / SM you must remove the green wire from the 8 pin connector. To do this use a small flat blade screw driver, and lift the plastic tab gently upwards (seem image below) and pull the green wire out. Nothing should need to be forced, if it seems stuck try pushing the wire back in some, and re-lifting on the tab. It does not take much, you don't want to break the plastic tab. 
I didn't really notice any difference so far, so luckily I don't have much money in it. If you are thinking about switching to an E CDI, I think the money would be best spent elsewhere first. |
| © Copyright 2006 - 2025 Mike Lee | |