
|
|
|
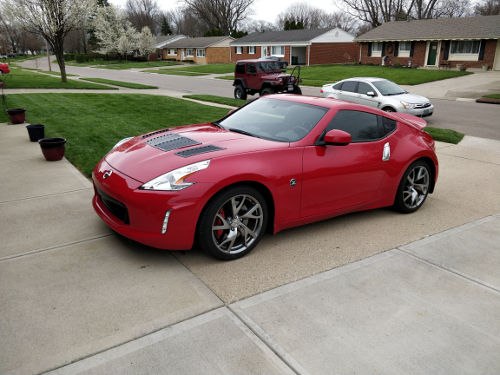
Jeep FAQ How-To Articles Quick Reference Product Reviews My Buildup Random Home |
With the spoiler I figured the worst part would be removing the old one. The surprises however, kept coming. Removing the factory one was no fun. 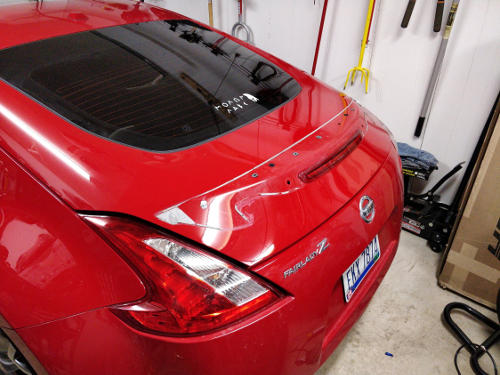
Then I spent a bunch of time cleaning up all the tape, which I expected: 
Now it was time to fill most of the factory holes as they won't be used. I siliconed down body plugs. 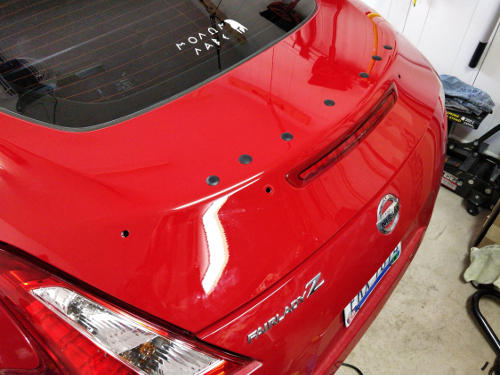
It was at this point I figured out that despite people say Fly1 used factory holes, they did not. They just roughly did. All four holes that were in the deck lid, had to be walked in opposite directions to get the spoiler to line up. You also need to drill an access hole from underneath. I drilled it off to the side so it would not be in the gasket mating surface. This does make it a bit arkward to get to the bolts but, in this manner no chance of leaks, damaging the seal, or wind noise: 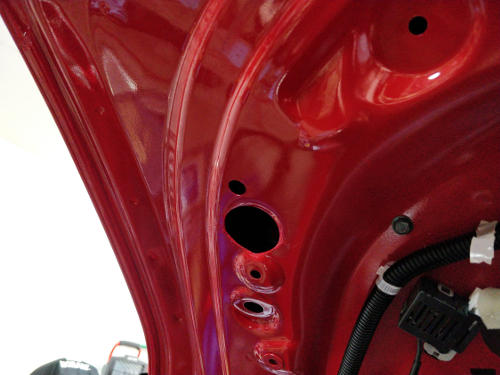
The spoiler does look good. The only problem was the fitment was awful. Maybe my expectations were a little higher than they should be. Maybe it fits like an aftermarket part? No matter where we positioned it on the hatch it did not fit the contour of the body. It still looks good though. 
To fix the areas where there was a gap between the body and double sided tape, especially on the front I used some silicone. I really only worried about the front and edges where water running down would be a problem. 
Now I know how this sounds. Once done, and smoothed it's all underneath everything. The silicone is not visible. It's under the tape. Here is the front, done. It doesn't look a caulked bathtub, I swear: 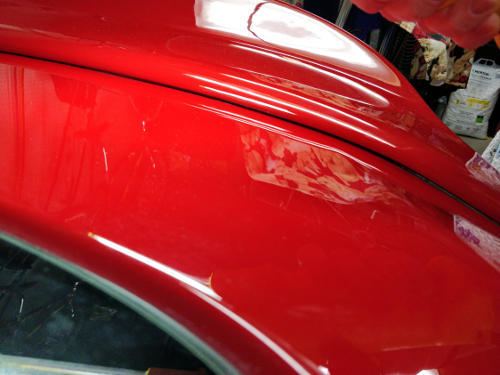
Next modification was the Trackspec hood vents. Which meant it was time to pull the hood. 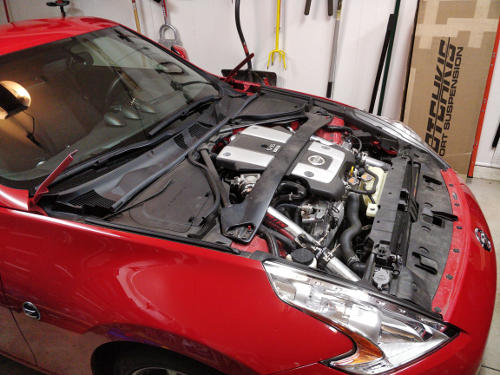
Once the templates were laid out correctly and everything marked, I taped it all off. 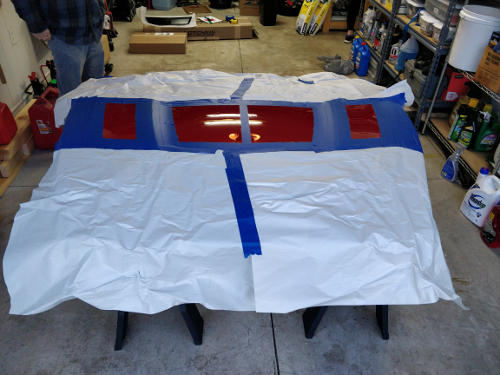
Most everything cut through on the top side, but there were a few spots that had to be cut from the bottom. 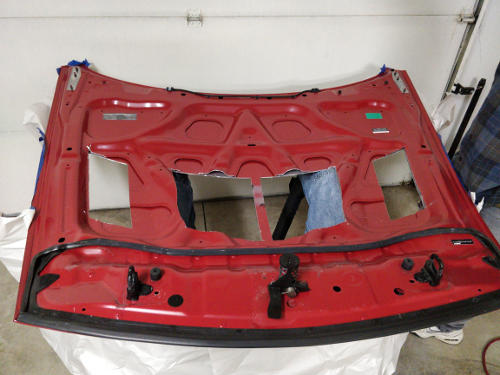
Finally so none of the grey primer, or bare aluminum showed, I taped off everything again, and painted everything black. This will also keep the aluminum from corroding. 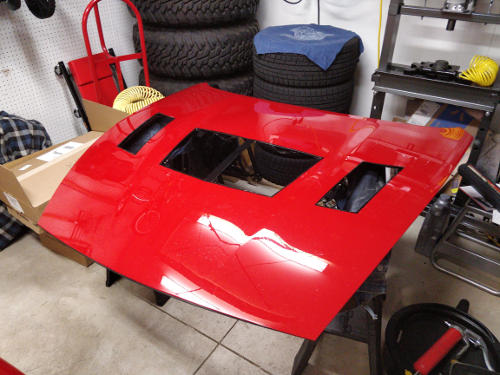
Vents installed: 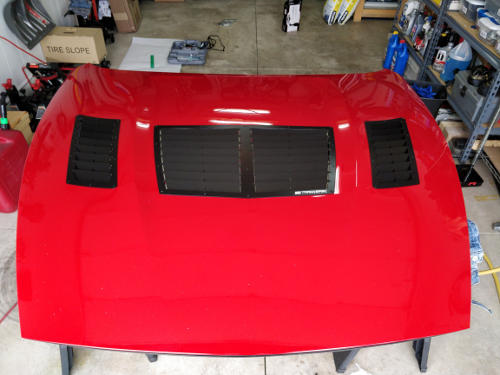
On the under side of the hood, I used some adhesive to reattach and seal the hood support back to the sheet metal in a few places where it was now just floating. Figured it couldn't hurt. Also I noticed in the rivets included the short ones were stainless, the long ones were plain steel. Just as some extra insurance, I took some clear coat and coated the top of each rivet just to help prevent rust. 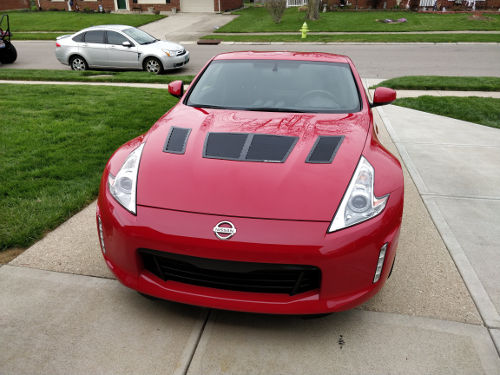
Venting the hood was only the first step in my cooling project. The 370Zs are also known for oil cooling problems, as well as power steering fluid problems at the track. To prevent this, I removed the the factory oil cooler and replaced it with a 34 row oil cooler from Fast Intentions. The factory power steering cooler was also removed and replaced with a larger one. 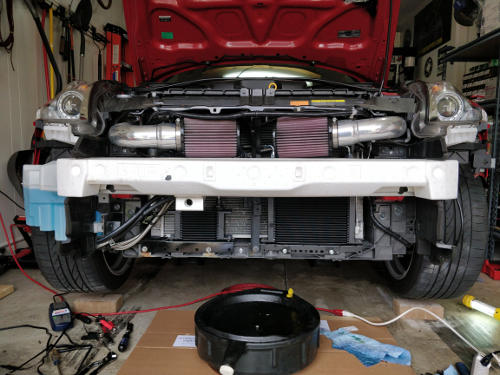
While I had the front apart I figured this was a good time to install the front sway bar. It's definitely quite a bit larger than the factory sway bar. 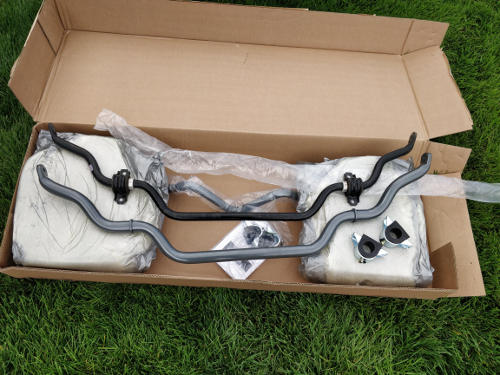
I decided to remove the spare and factory subwoofer. To do this though and still maintain the interior I had to build a spacer. 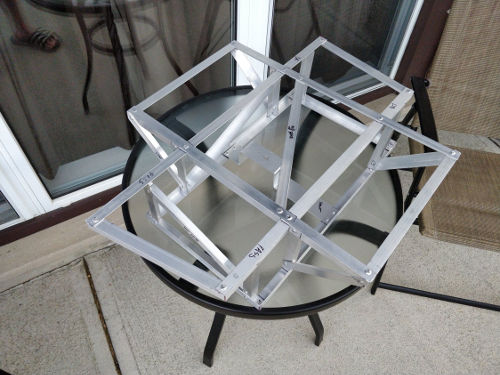
Once finished the spacer actually consists of a few different layers to get the proper height, and keep all the factory pieces in place. 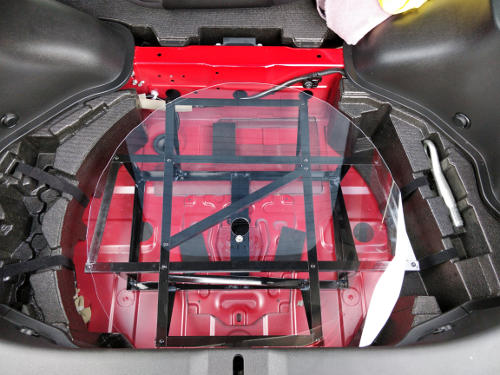
There is actually one final piece on top of the dense foam in this picture. However it works quite well. The spacer is all aluminum so it's much lighter than the spare and subwoofer while still being able to support a reasonable amount of weight. 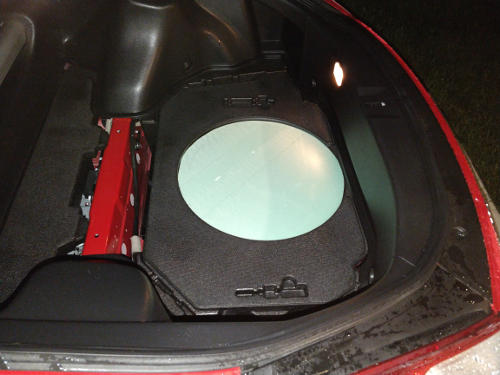
|
| © Copyright 2006 - 2025 Mike Lee | |