
|
|
|
Jeep FAQ How-To Articles Quick Reference Product Reviews My Buildup Random Home |
Of course since the fenders are only shipped in a protective coating, they have to painted before being installed. 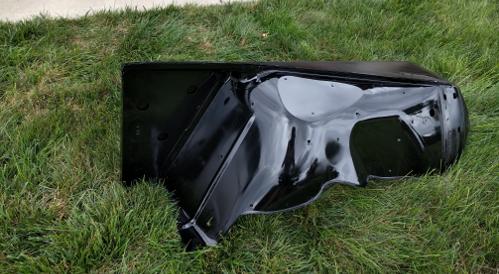
The rust on the side of the tub was from a hole left where I removed the factory Sahara side steps. This allowed water to get inside the factory seat belt box and rust things out from the inside (at least my theory). So the odd shape was to eliminate the hole: 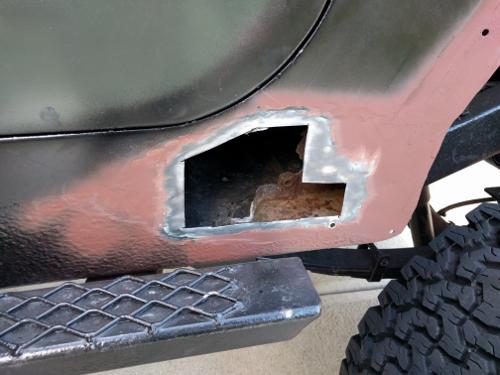
No body filler, I didn't want anything to come back out later if I lay it over again: 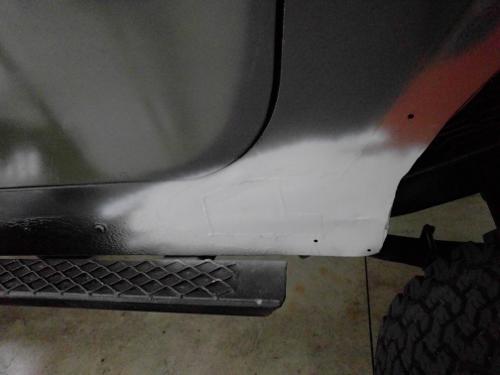
Also many years ago, I accidently backed into my hardtop, so I finally repaired that small section. 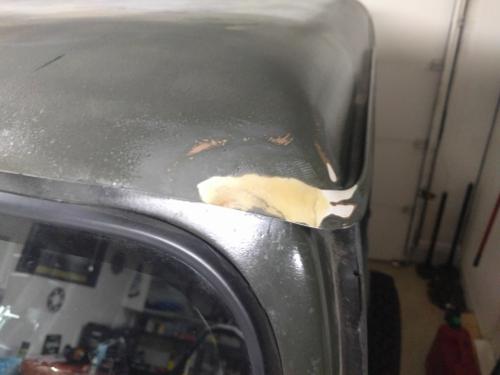
Almost a shame to cut up a brand new fender, but it had to be done to clear the tires and fit the flares. 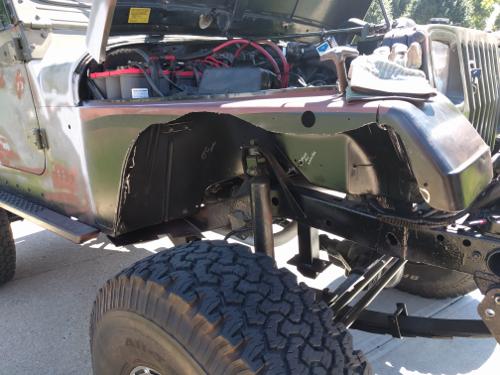
While stripping my Jeep further down for paint, I found the the rear cross member had a spot that was rusted through. Now was as good as a time as ever to fix it. I had a fellow Jeeper friend helping, and it was a good spot for her to try her hand at welding. Unfortunately while grinding it down some I found out I didn't cut out quite enough. 
So I had to go back and go over it again. 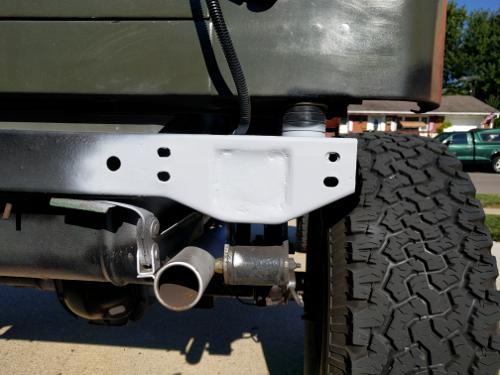
I decided to not to risk new paint on top of whatever was going on with my the old paint on the hood. Never used paint stripper before. It actually worked very well. It stripped the many layers of spray paint, and the factory paint very quickly. 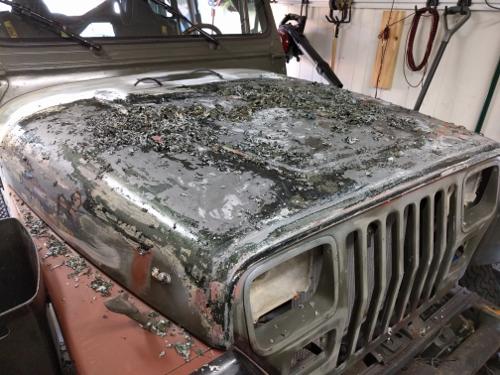
I found the hood started to rust almost instantly though after being stripped. So I had to right away sand the surface rust, and quickly prime everything. 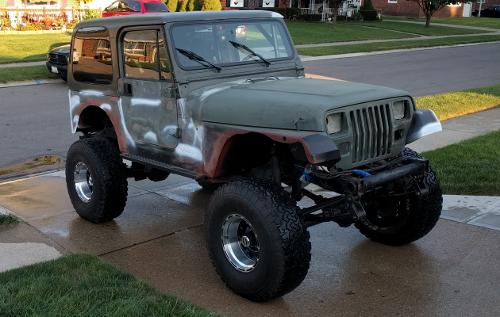
I did find out the problem with using paint stripper with the parts on the vehicle, paint stripper will end up in places you don't want it. So I ended up pulling the hood to make sure I could repaint all the areas that needed repainted. 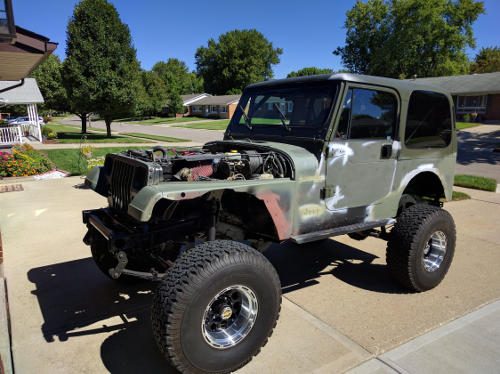
It also made painting the edges of the hood much easier. I also painted the under side of the hood, it'll be covered by the new insulation, but figured might as well seal it anyways. 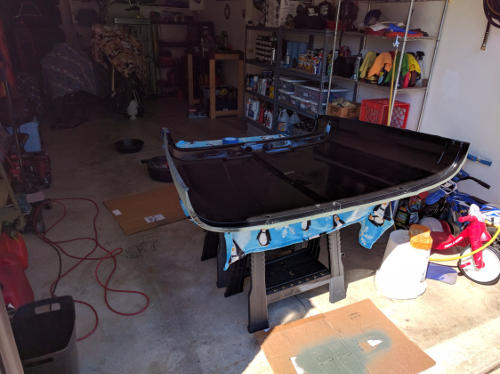
When I picked the Jeep back up from the painter, found out he couldn't spray it with the top on. He said he tried letting air out of the tires, he tried pulling the tires and putting it on stands, and gave up and pulled the top. Since he had to pull the top anyways, he sprayed all the door jams and such. 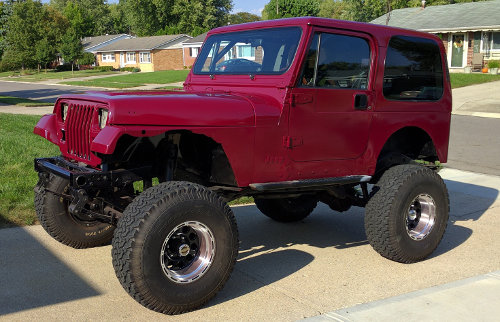
The red is from 89 Mustang, Cabernet Red. It was used across many other Fords as well, it's a dark, cranberry / wine color, out in the sun it looks lighter. The image below for example is out in the sunlight, so the color varies quite a bit depending on the lighting. 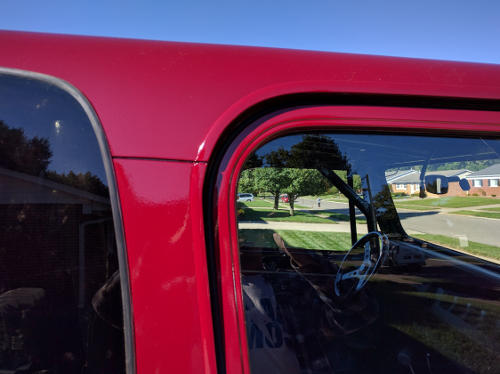
I let the Jeep sit for an entire month starting any reassembly to let the paint fully harden. Funny how as you start to do things like this, small things start to jump out at you and become eyesores. Of course it's also the small touches that really make big differences too. Had to paint the trim around the rear window, and the rear window hinges: 
This meant it was a good time to rebuild the winch since it had to be painted. It got a fresh coat of epoxy paint. 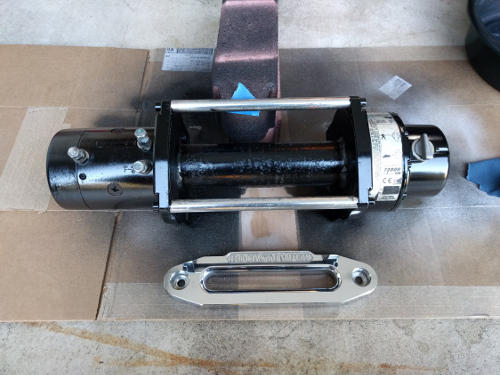
I noticed on the factory fenders there was rust under the hood latches where they had rubbed the paint. To prevent this I made some rubber gaskets to go between the two. As an added bonus the hood catches now stay where you put them instead of flopping all around. 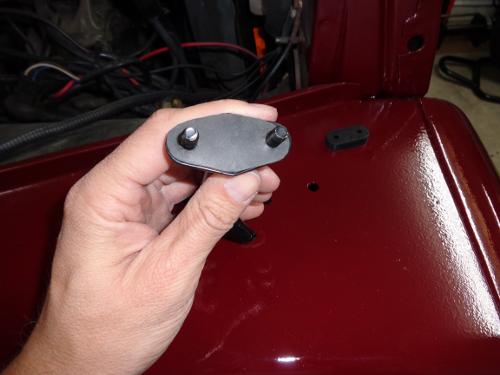
Since assembly was finally to a point where I could get the hood open again, I could finally install the hood insulation. 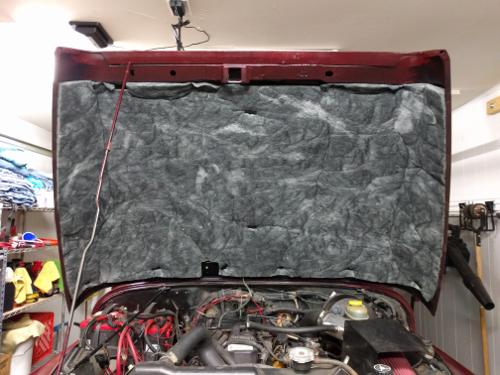
So my washer spray nozzles really looked pretty rough. Looks like you used to be able to get these in the aftermarket world, but no longer. So I had to paint mine. Yes I know the vent is backwards. I had air coming through the vents all the time. Having it backwards limited the air flow to it. However this didn't solve the problem, so if you look closely you'll notice I blocked it off entirely with rubber. 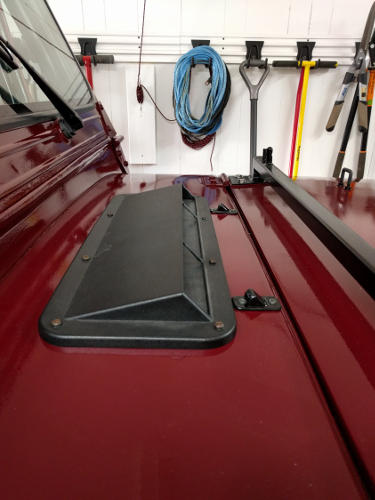
It is starting to come together. Still far from done unfortunately. 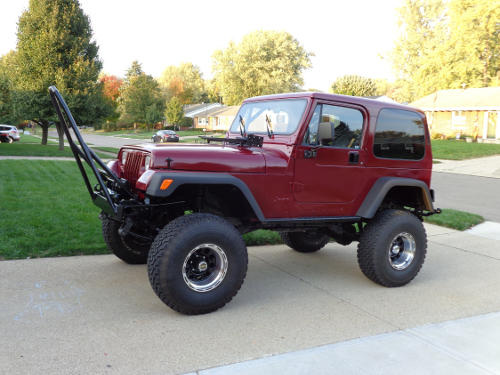
Well no more yellow smiley faces on the front, but the new KCs look much better. 
At least the reassembly is getting close to done. Originally when I built my roll cage I didn't have the doors on. The doors have always touched the bars that run between A and B pillars and they actually hold the doors out a bit. So I've wanted to clearance these just a bit. The solution was to cut some of the tube out and weld some 1/4" flat plate in. While not ideal, the 1/4" plate is thicker, and should be enough to make up for what I lost in the tube: 
My driver side door striker had completely failed. It cracked in several places, and was missing one rivet. Turns out only Kentrol makes ones that matched the dimensions of my factory 95 parts. The first ones I ordered I had to return (Good thing Quadratec has great customer service!). 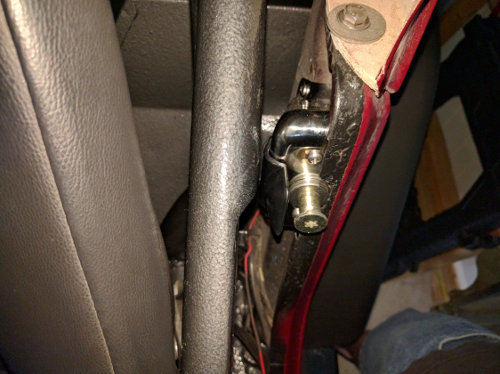
The other project was upgrade the sound system in my Jeep. It was a bit lacking, especially with the top off at highway speeds. Even with a new gasket between the windshield frame and tub, I still have some water get behind the dash somewhere, I made a better water shield for the my new radio after it was clear my marine enclosure that I ordered wasn't going to fit. It's just to keep water from being dripped on top of the radio. 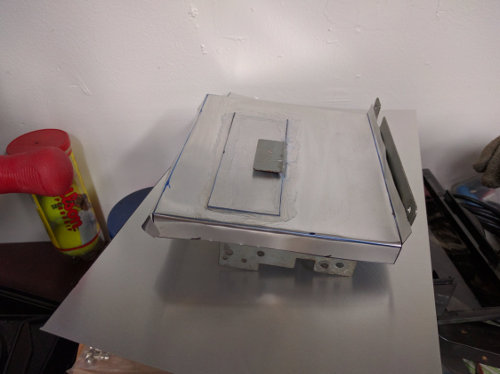
Really I only replaced the radio in the Jeep to upgrade to one that had bluetooth. First world problems right? 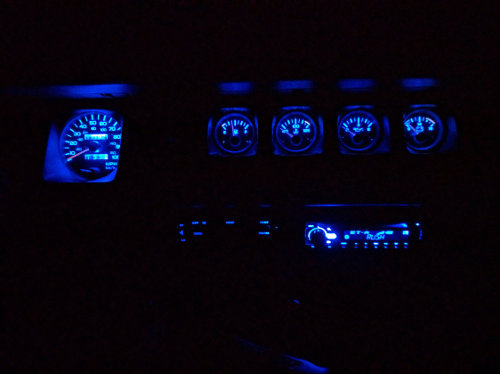
I ordered a Tuffy Security speaker box to add two more speakers, as all I had were the 4x6s in the dash. This at least gives me another set of 5.25s. 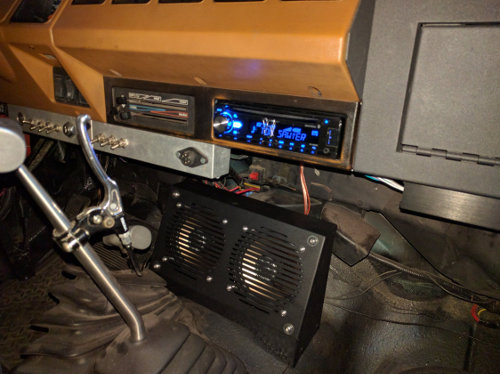
The speakers I'm using though had to be spaced away from the front some, which also meant they no longer fit in the box. So I did have to cut the back of the box so they would clear. 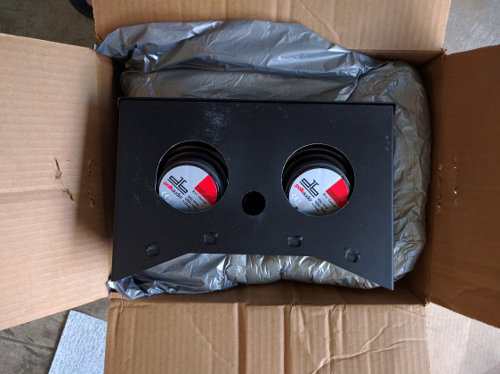
Finally to help give everything some extra power I picked up a amplifier. It's a Pioneer unit as well, 4x45 watts RMS. This is also why even the dash speakers had to be changed, as my Sony 4x6s wouldn't handle the 45 watts RMS. I've mounted it under the dash as well, as it's one of the micro units. 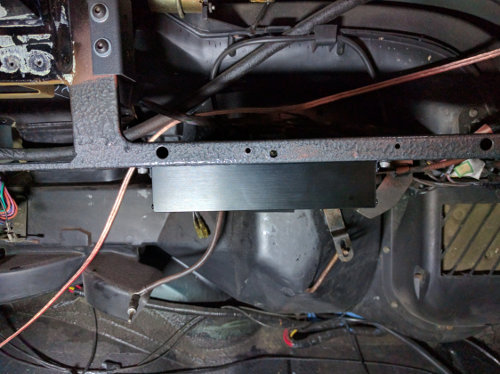
It was clear it would need a little more support though being mounted upside down, so I made a bracket out of aluminum to help support it. 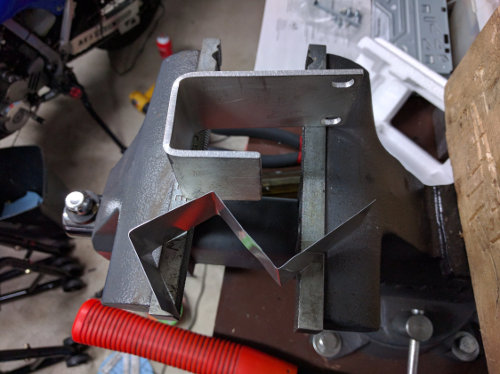
The bracket is in the center and should help prevent the tiny end brackets from failing over time. 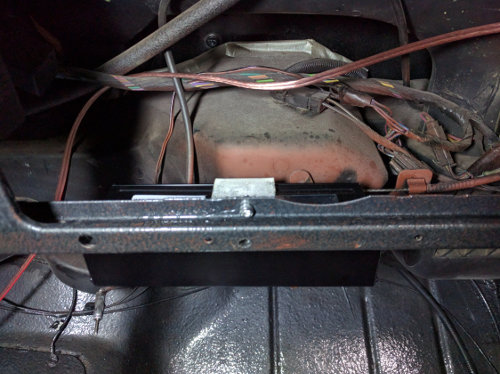
|
| © Copyright 2006 - 2024 Mike Lee | |